Stuff and Things

Image

I haven’t been very good about keeping up on the blog. I’ve been busy.

I’ll tell you later.

Things happened, and then other things changed and I got busy.

I’ll tell you later.

In the mean while, enjoy this map and photo from yesterday’s morning bicycle ride.

IMG_20151021_072145

[osm_map_v3 map_center=”41.037,-76.98″ zoom=”12″ width=”100%” height=”450″ file_list=”http://blasphemous.bike/wp-content/uploads/2015/10/Running-Gap.gpx” type=”CycleMap” file_color_list=”red”]

Tills

Gallery

The toolbox now has removable sliding dovetailed tills. I had to thickness my stock from 3/4″ to 1/2″ with hand planes. That was good exercise.

I believe this is the end of the joinery for this project. I still have to install on some hardware and decide on a finish, and I’ll have a toolbox!

Hinges

Gallery

I made my first ever hinge mortises yesterday. My toolbox now has a functional lid.

I glued up a panel

Gallery

I glued up a panel for the lid of my toolbox. Jointed the edges with the No. 5 and then cleaned up the faces and end grain — all with the same plane.

It was a hell of a workout.

Floor Boards

Standard

A toolbox isn’t very useful without a floor. Having never put a floor in a box before, I consulted my book, and came away with the following sage wisdom:

You should make all your bottom boards interlock in some way – butt joints are a Bozo No-No. You can use a simple ship-lap joint[…] Or you can do things the proper way and use a tongue-and-groove joint on your bottom boards.

— Christopher Schwarz, The Anarchist’s Tool Chest

I decided to try ship-lap boards because I don’t have a tongue-and-groove plane. I don’t have a rabbet plane either, but I saw people on the YouTubes who said you could make rabbets with just a chisel and a router plane. This technique appealed to me because I’m left-handed, and both tongue-and-groove planes and rabbet planes seemed to be made for right-handed people. Router planes are ambidextrous.

RouterPlane

RouterRabbet

I found one on Ebay that looked especially pretty, so I bought it. As far as I can tell, this is a type 7, meaning that it’s somewhere between 107 and 109 years old. After a bit of trial and error, and a number of goofed up boards, I made some passable rabbets by this laborious method.

I decided that this was not a fun use of my time, so I bought a rabbet plane.

RabbetPlane

I had to get used to doing things right-handed, but I managed. I still had a hard time keeping everything square, but I produced some ship-lapped floor boards for my box. A rabbet plane is much faster than banging things out with a chisel.

Shiplap

I got everything fitted and spaced out the way I wanted, and then I got to use my fancy new cordless drill to pre-drill some nail holes.

drill

Now that my tool box has a floor, it seems likely that I’m going to have to start over and make a bigger one. I’m accumulating tools faster than I can build a home for them.

Base Trim Travails

Standard

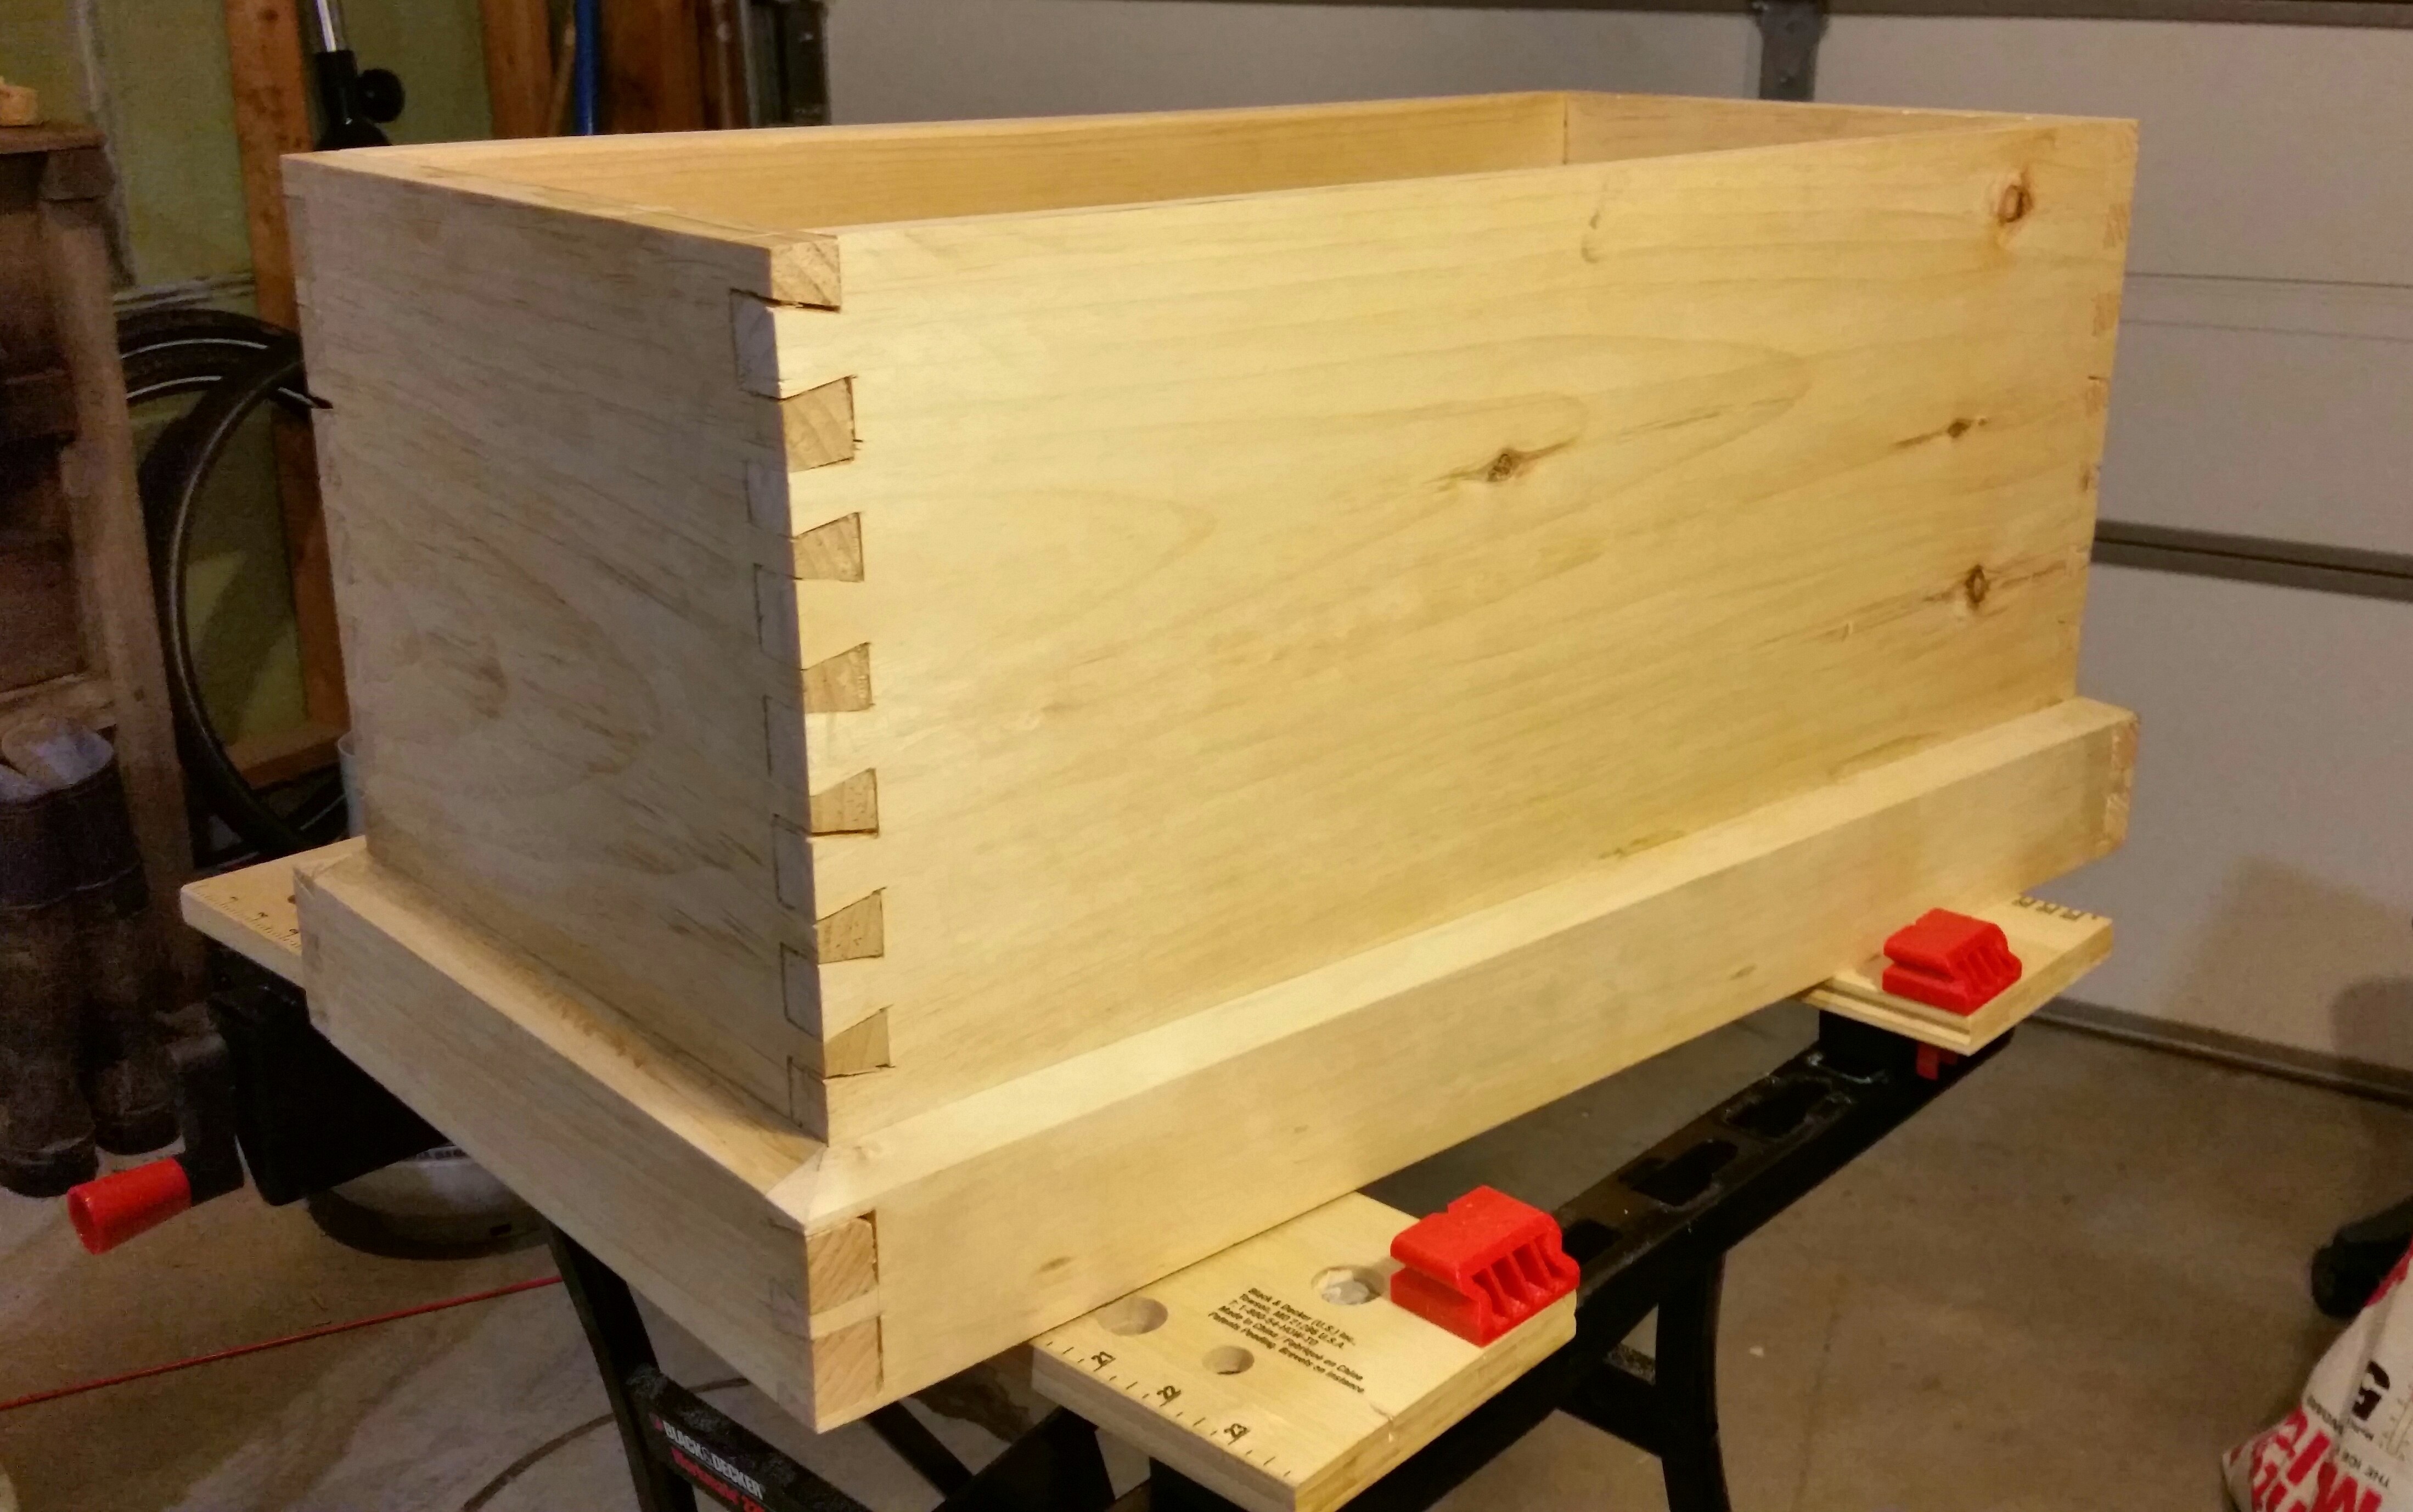
The plan for my dovetailed box calls for a base trim. So, I set out into the garage to see if I could build a baseboard.

ripping

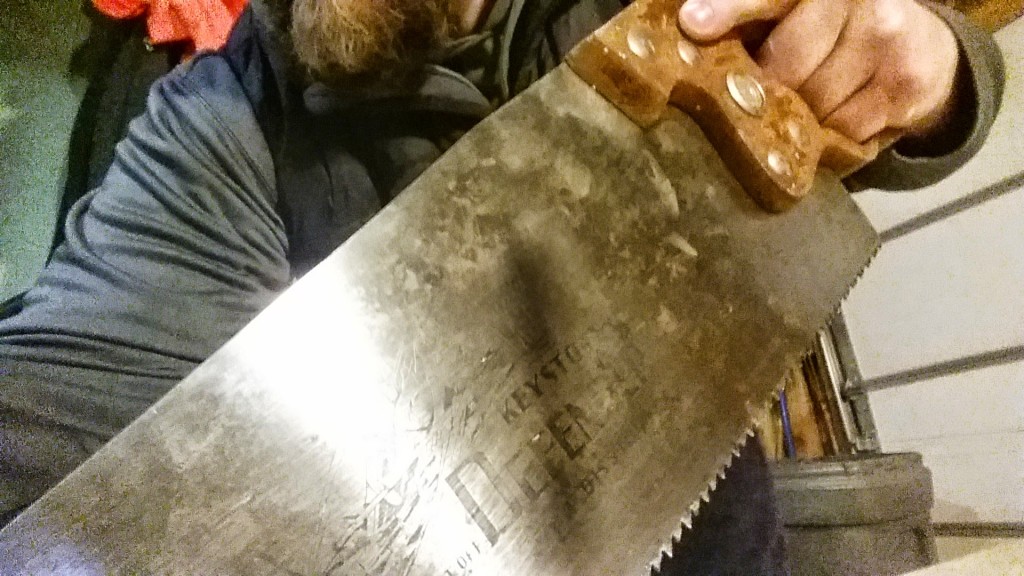
The first order of business was to rip my boards into narrower widths. The mighty “Keystone Defender” rip saw does a nice job, despite my inability to saw a straight line.

planing

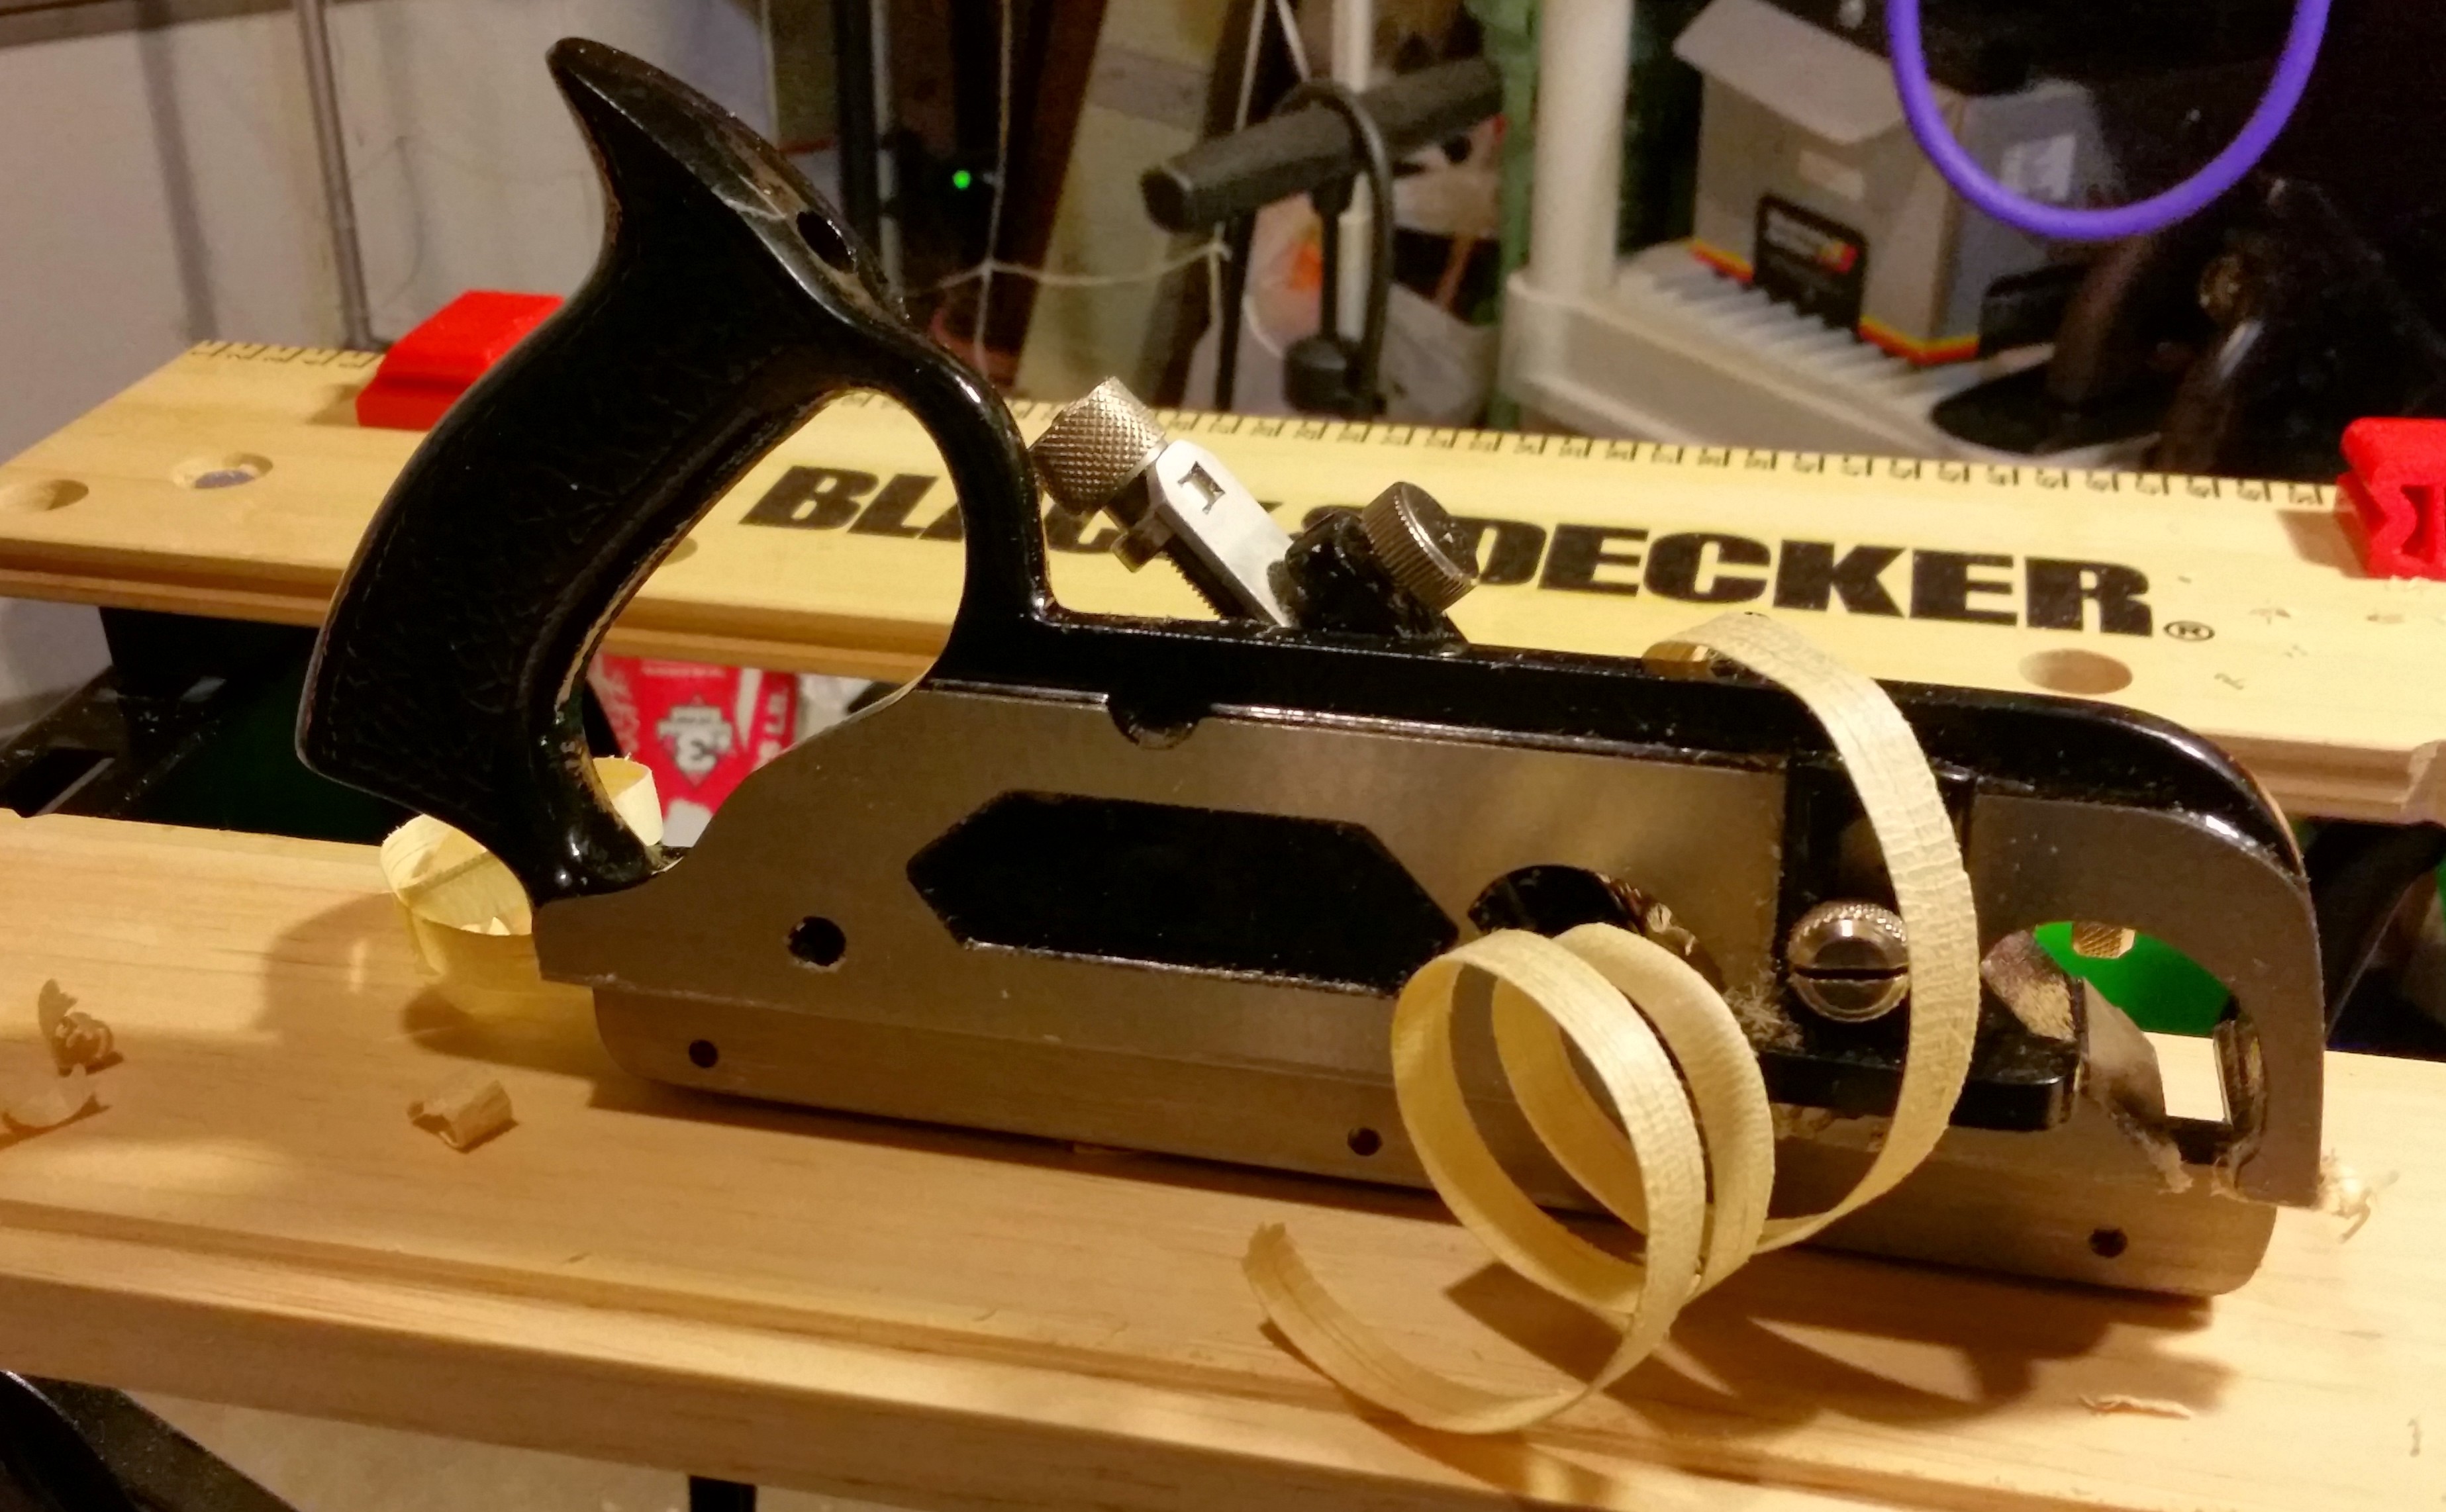
My general incompetence as a sawyer necessitated a great deal of cleaning up with the jack plane. But I finally had some boards in the proper width.

IMG_20150301_113757

IMG_20150301_114150

chiseling

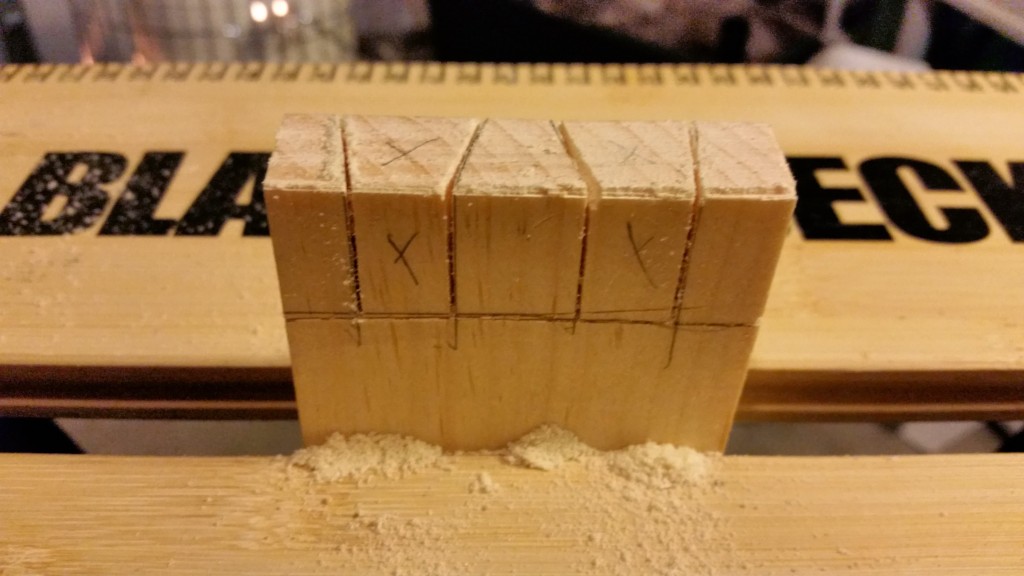
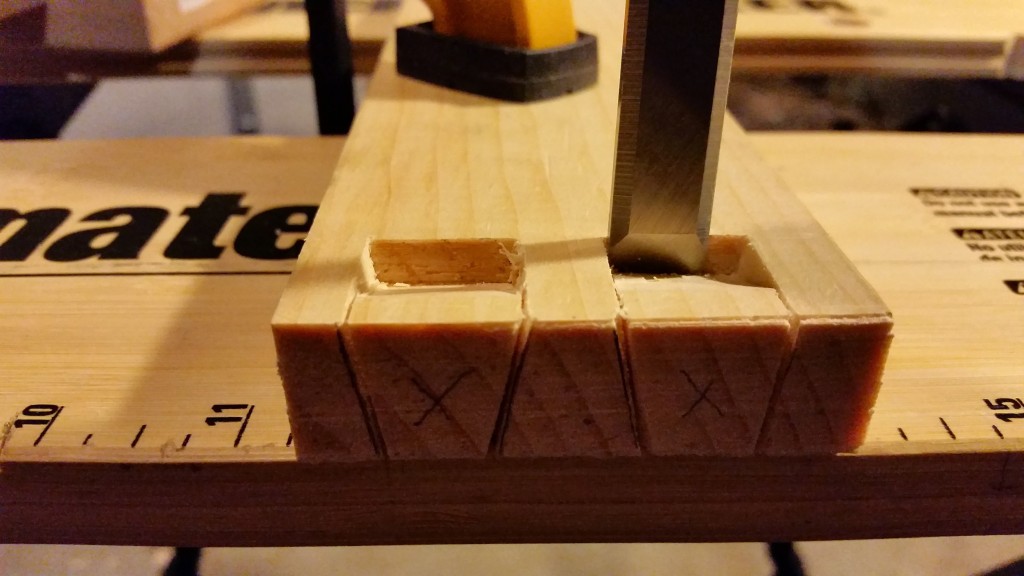
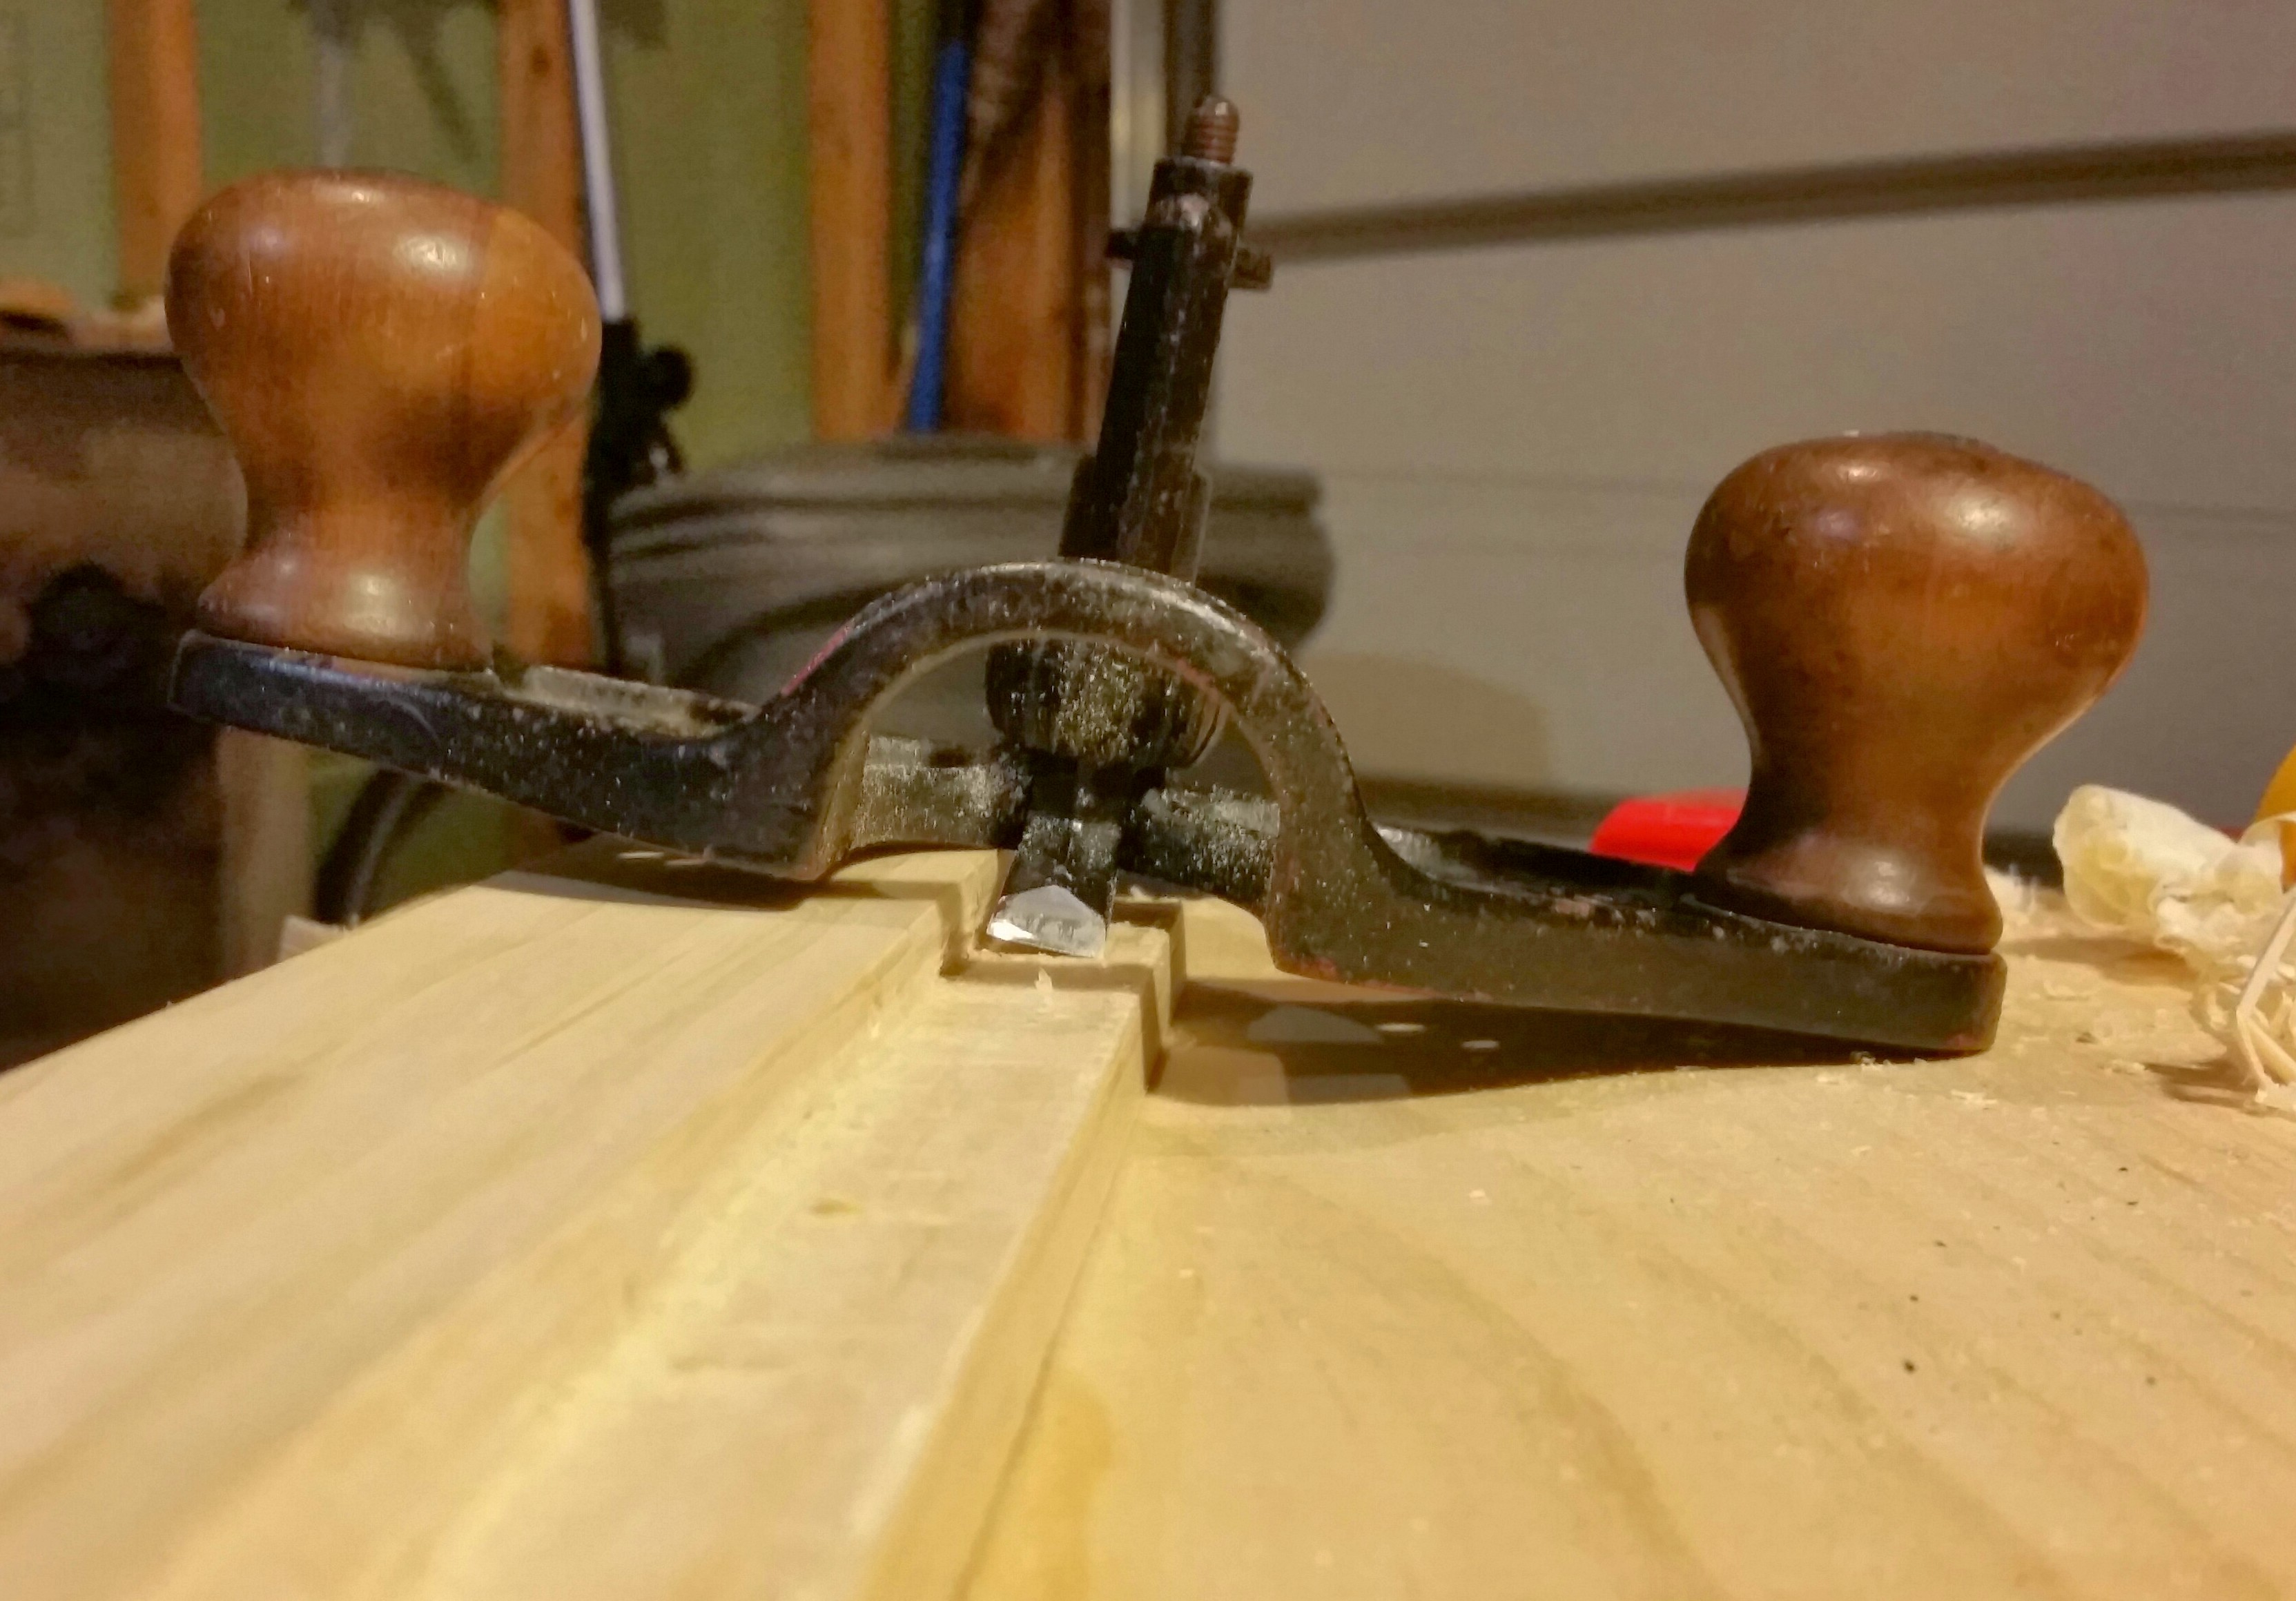
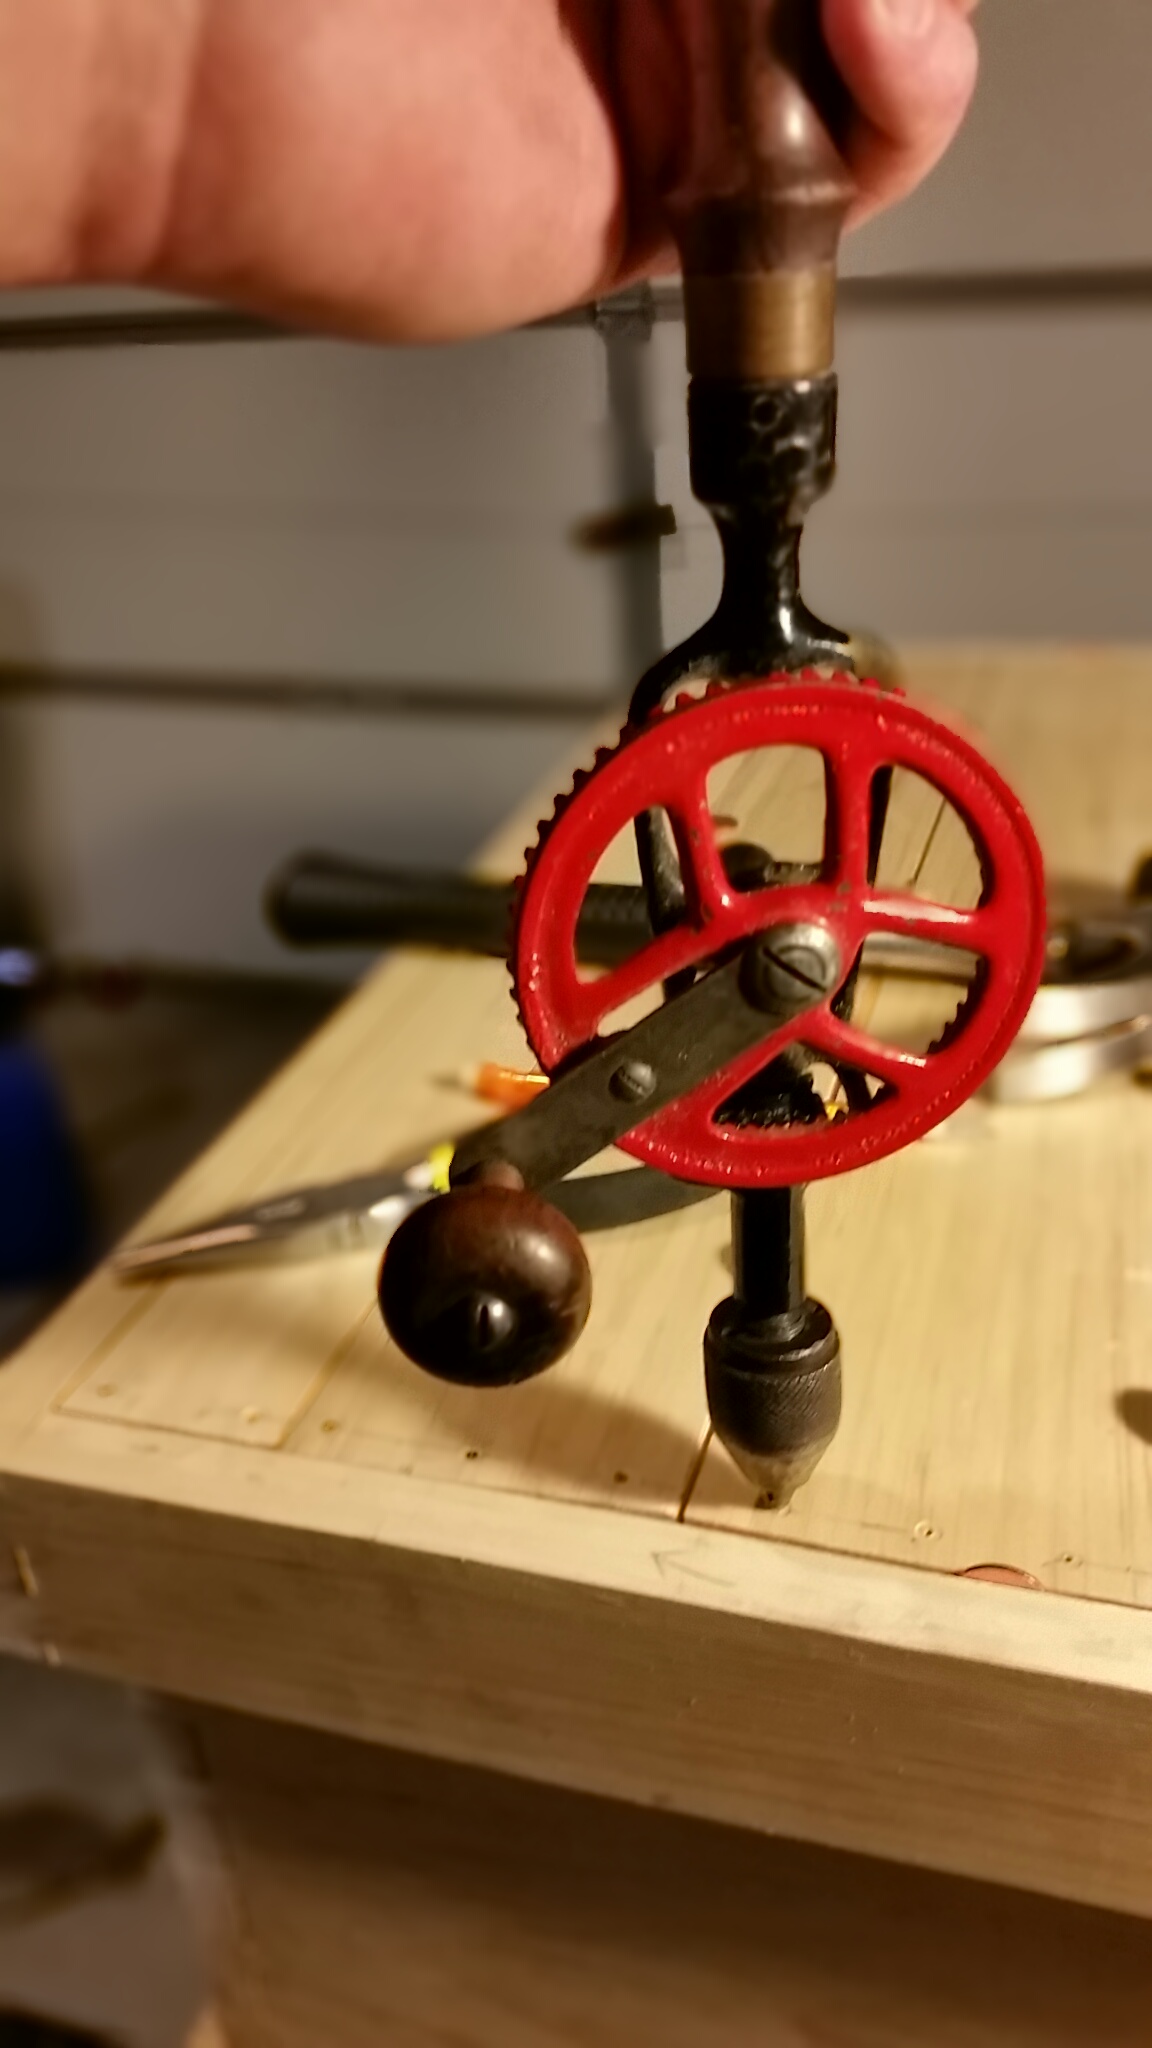
Then, I laid out, sawed, and chiseled out the tails and pins for two of the corners of the box.

falsehope

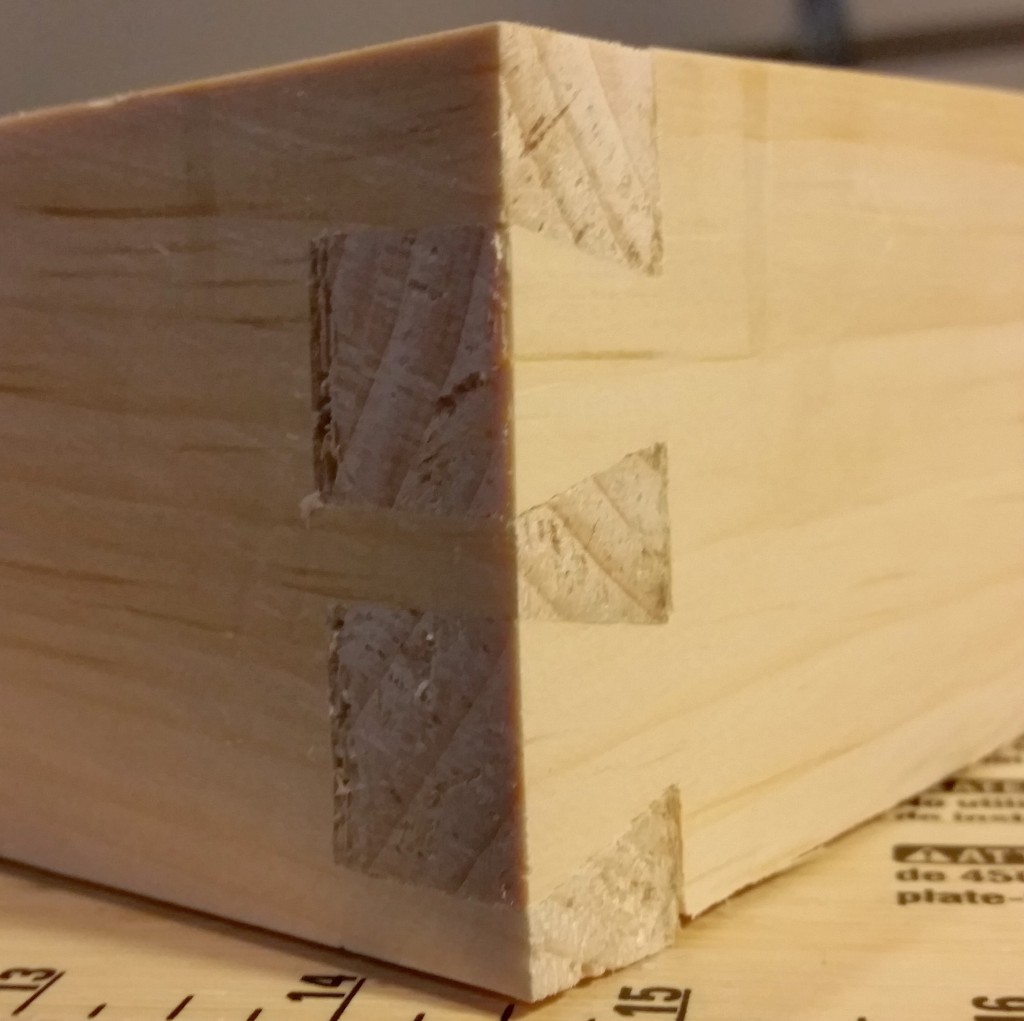
I put one corner together, and planed it smooth, and was generally feeling very satisfied with my work, but I had a great deal of trouble getting the second corner to come together. Then it dawned on me that I had some things backwards.

stupid

Somehow, I managed to get things turned around, and made a ziz-zag kind of thing instead of a box-shaped rectangular thing. Because this trim has to fit the box exactly, There was no real remedy for this situation. I had to start the whole thing over.

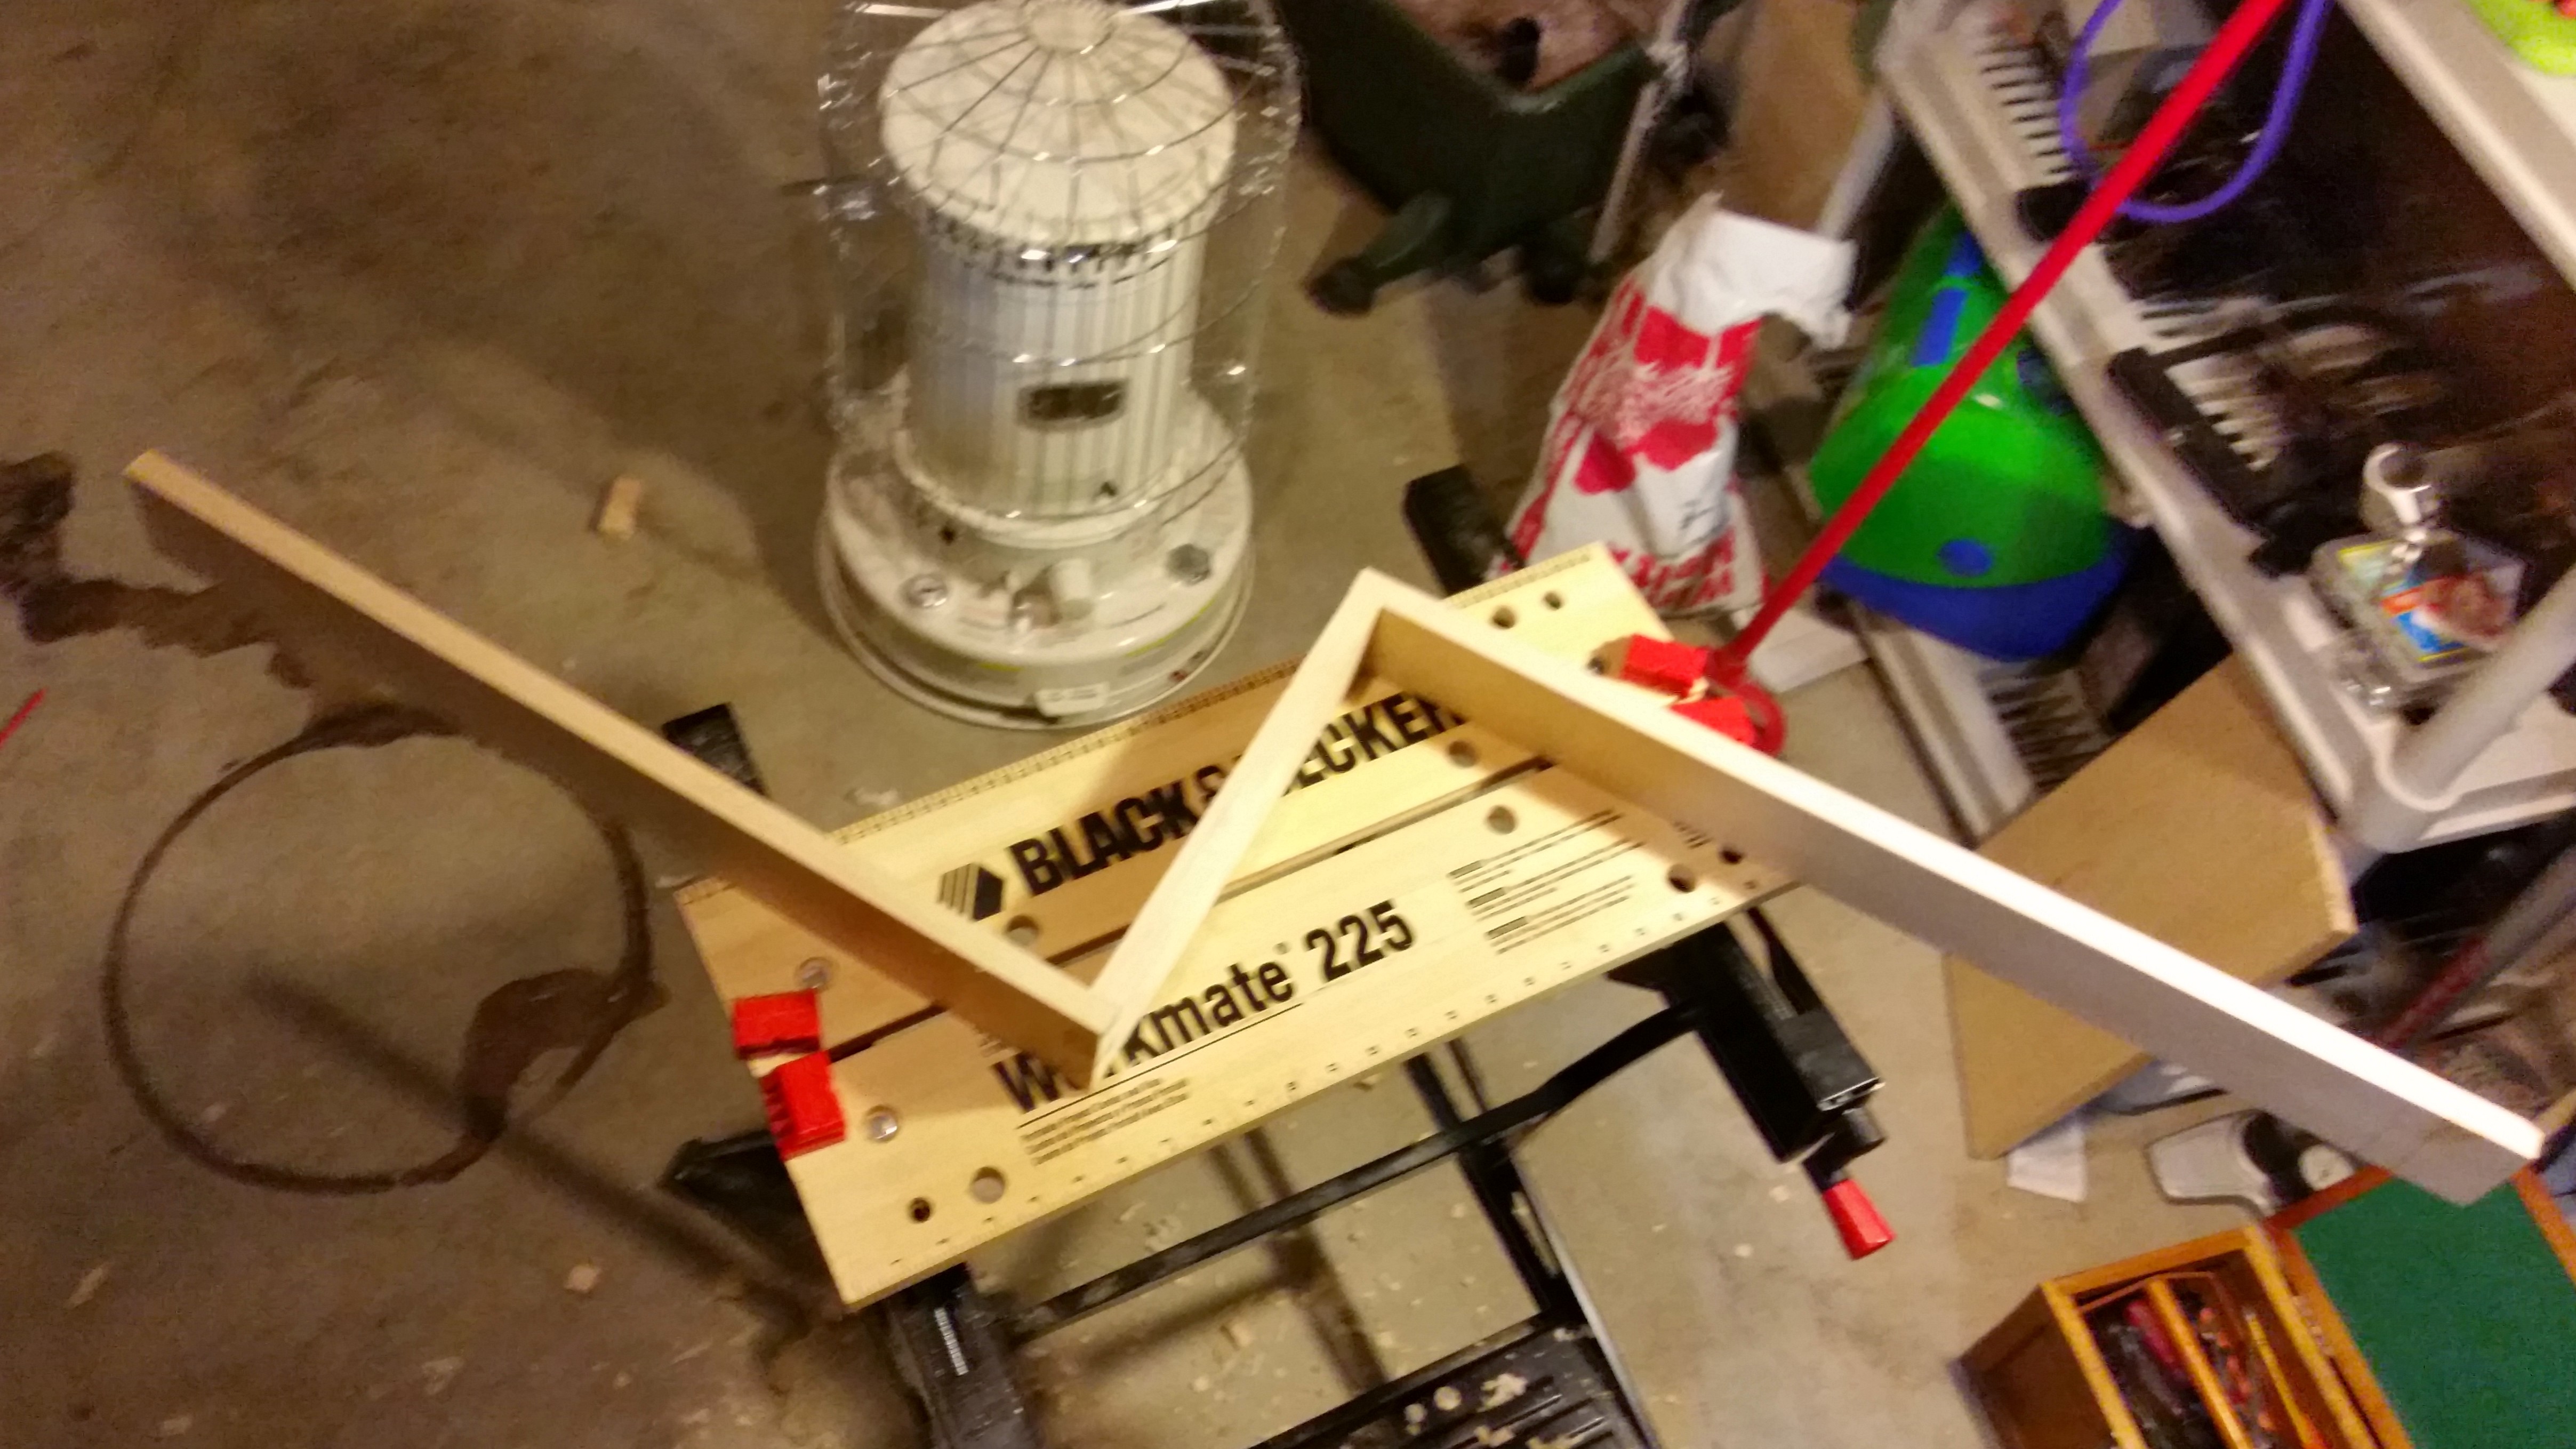
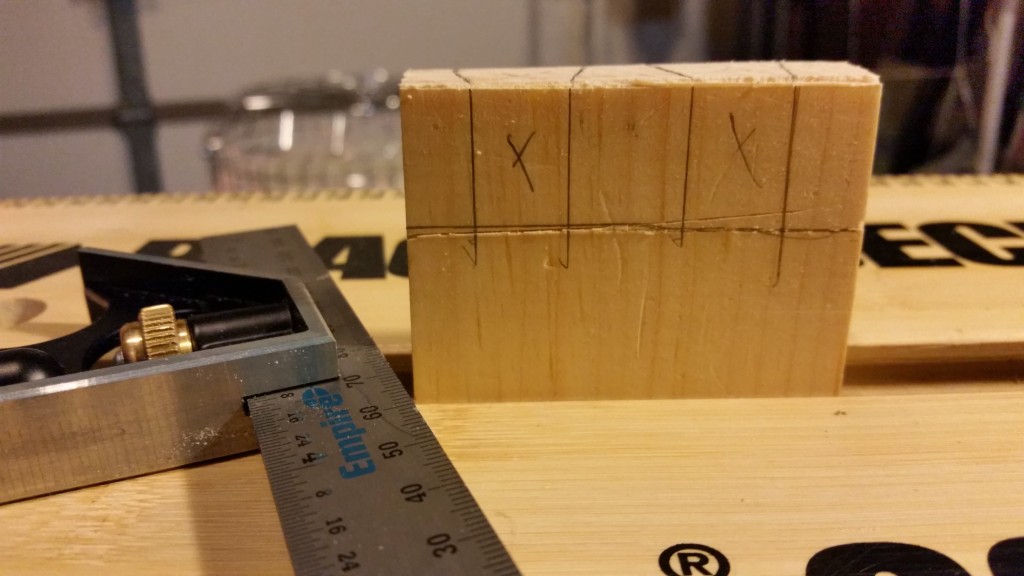
So, I started over. I ripped, and planed, and laid out, and sawed, and chiseled, and fit, and smoothed all over again. But, this time I marked my wood with a “cabinet maker’s triangle” to keep things lined up correctly.

basetrimdone

After a great deal of monkeying around, my box now has some base trim.

Update From the Garage

Gallery

My wooden box project is coming along. I glued up the dovetails and planed them down. They actually look kind of not bad. Then, I got to use my rip saw to rip out some trim boards. My saw wandered all over the place, so I got to spend some quality time with my jack plane cleaning up the sawed edges of my boards.

Planing is a good workout. It was below freezing in the garage, and I was working up a sweat by the time the boards were nice and straight.

Dovetailed Box

Image

My continued efforts in post-apocalyptic joinery have resulted in this:

image

It’s a box! It is very nearly rectangular and everything.

Next, I will but a bottom on it; maybe even a top. Then, I can put things inside it and feel like a manly handy-man sort of fellow.