Resuming the Secretary Desk Project

Standard

About 9 or 10 years ago, I read The Anarchist’s Tool Chest, and built a miniature version of one. not long thereafter, I read Campaign Furniture and became very excited about the idea of building a campaign secretary desk.

Look how cool that is! It comes apart into two pieces, there’s a lid to hide your messy work messes, and when the lid is closed, it’s slanted so you can’t stack your junk on it. Genius! I needed one!

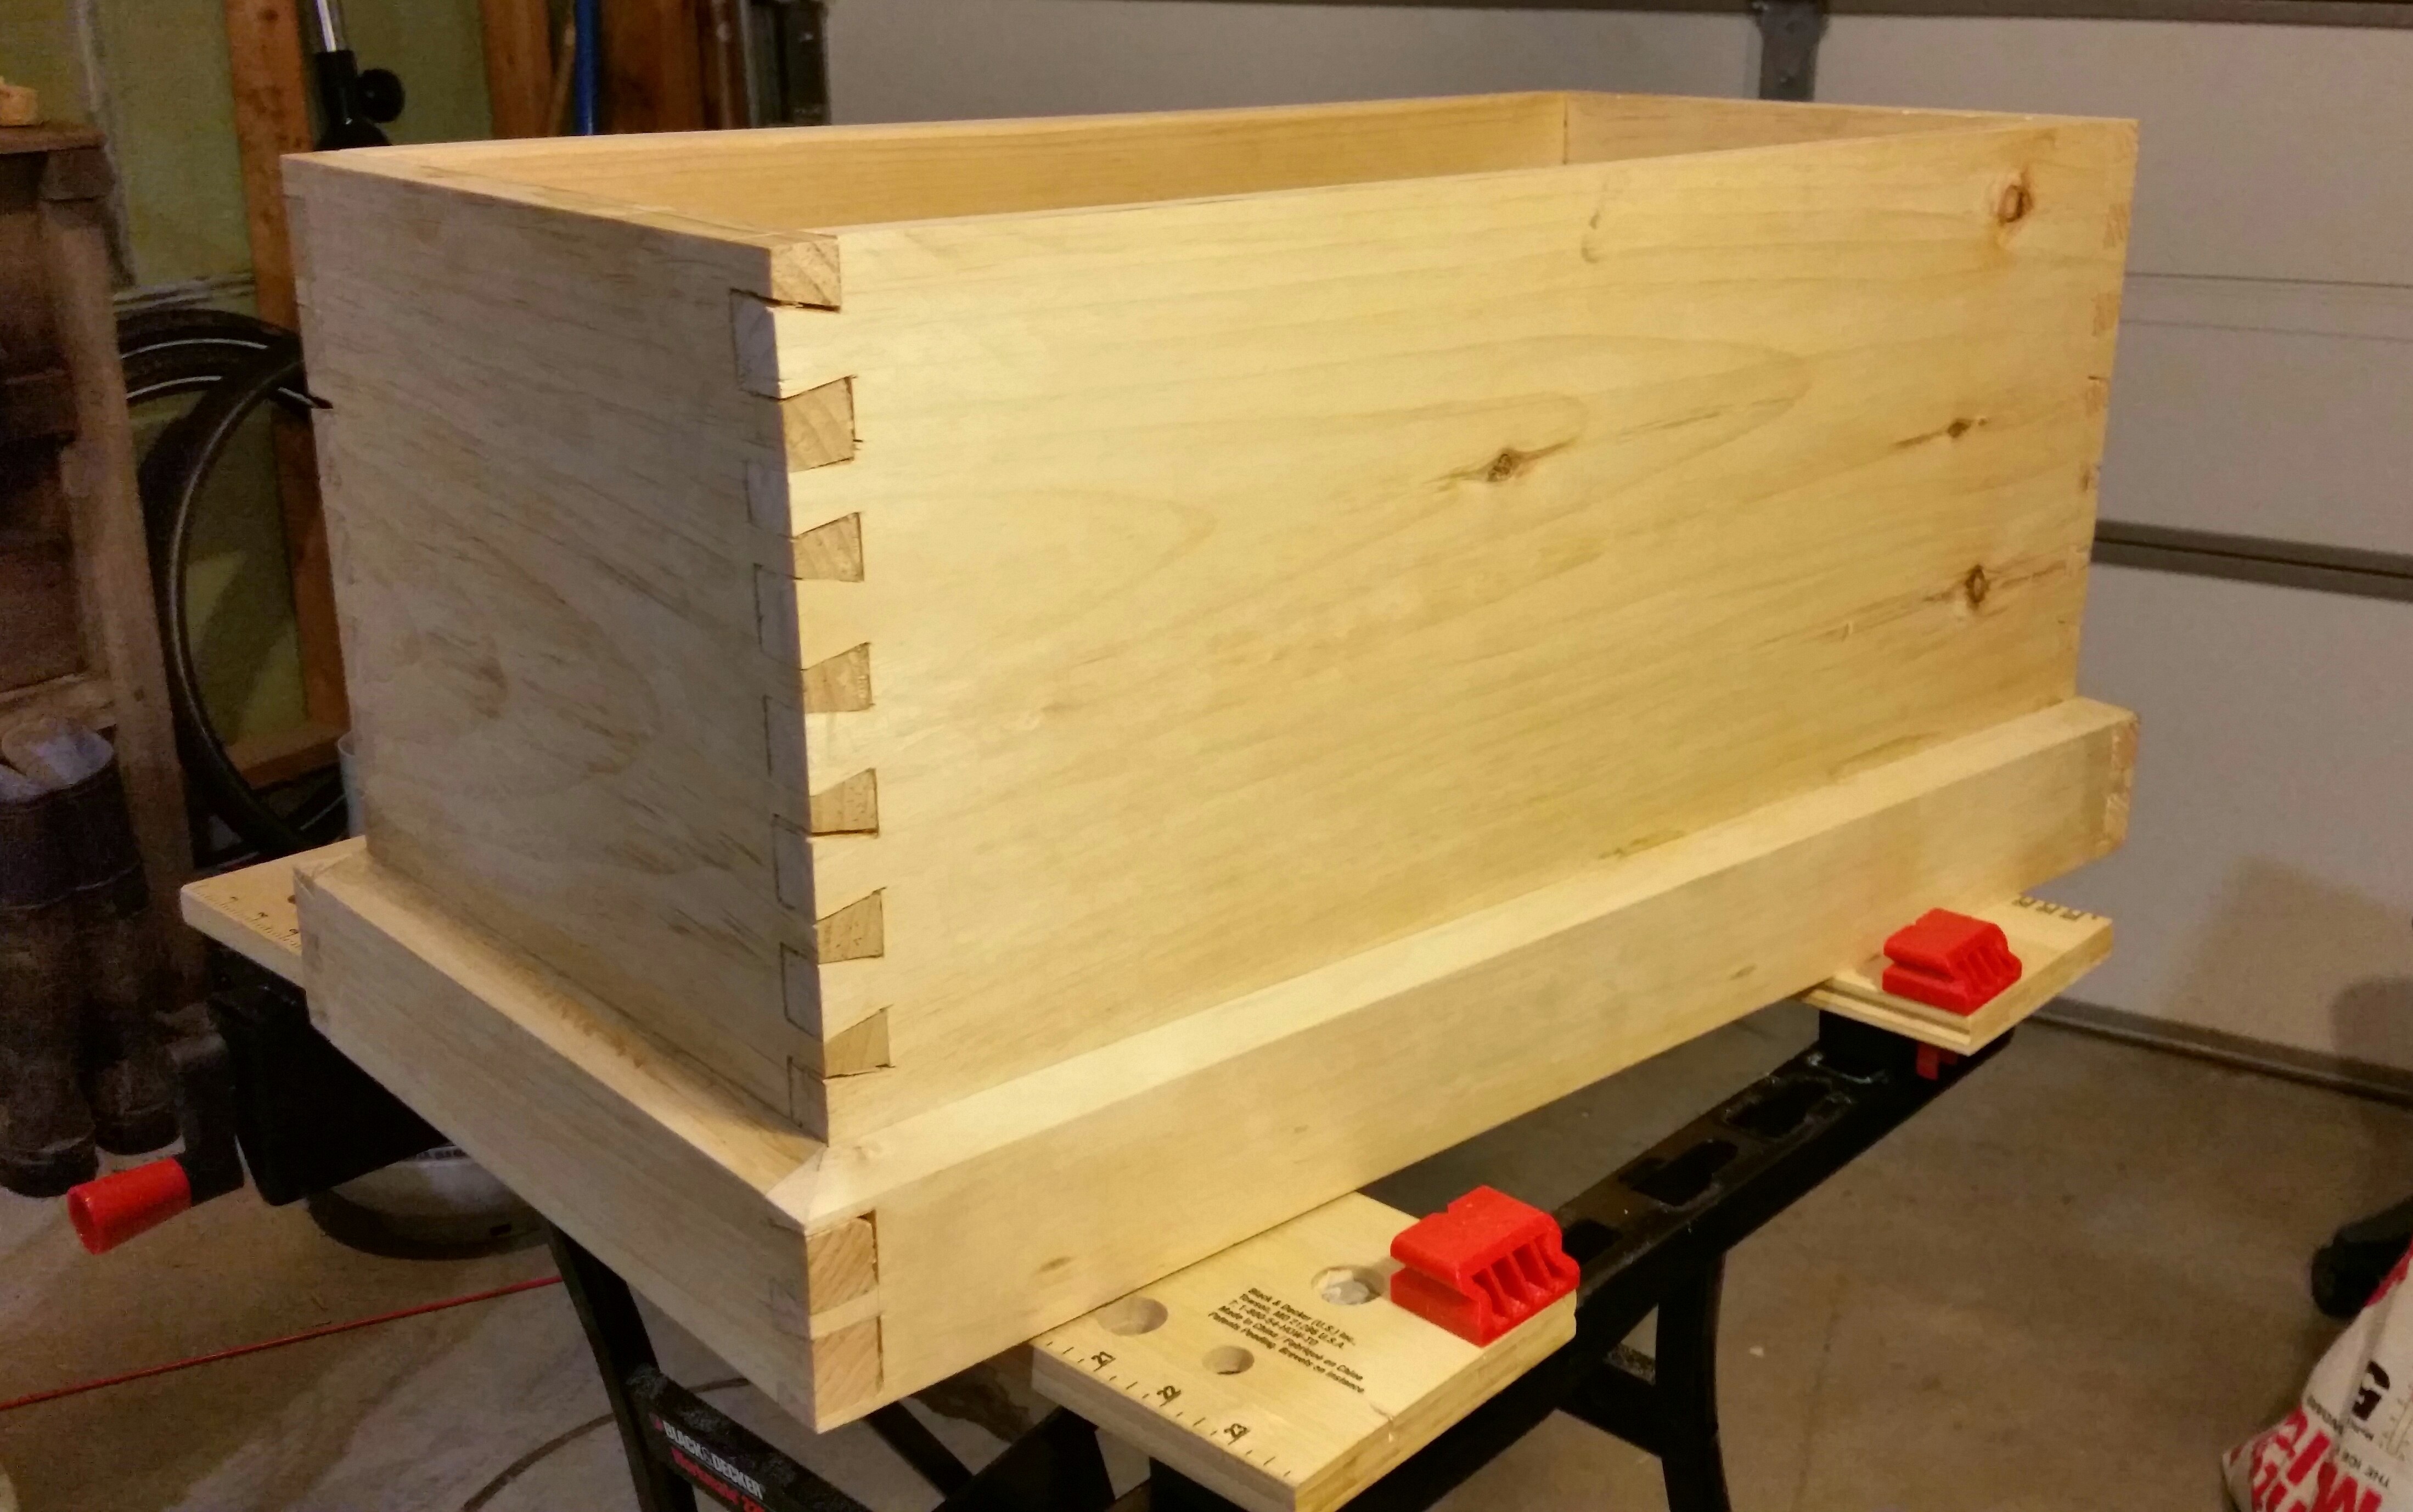
So, I set out to build one. I had only vague goals in mind. The most important that It would be able to have two computer monitors on the inside, and the fall front should be about 30″ from the floor. Other than that, I’d pretty much figure it out as I went along. I decided to use pine, because nicer wood is expensive, and I tend to make a lot of mistakes. Plus, this thing is going to be freaking huge and heavy enough as it is, and pine is pretty light.

Anyways, I built about half of the top cabinet, and then I quickly forgot all about the project. The half-made desk sat gathering dust and clogging up my workshop for like 7 years.

Google decided to remind me about it

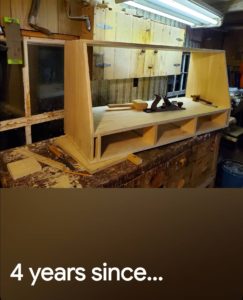
Now, there are other projects I want to get into, but this gigantic half-done desk and its attendant pile of lumber is taking up half of my shop. So, last week, I dusted off my saws and chisels and started cutting dovetails again.

I’m planning to put a couple of hours a week in the shop getting this thing done. Maybe I’ll post pictures and whatnot.

Tills

Gallery

The toolbox now has removable sliding dovetailed tills. I had to thickness my stock from 3/4″ to 1/2″ with hand planes. That was good exercise.

I believe this is the end of the joinery for this project. I still have to install on some hardware and decide on a finish, and I’ll have a toolbox!

Hinges

Gallery

I made my first ever hinge mortises yesterday. My toolbox now has a functional lid.

I glued up a panel

Gallery

I glued up a panel for the lid of my toolbox. Jointed the edges with the No. 5 and then cleaned up the faces and end grain — all with the same plane.

It was a hell of a workout.

Floor Boards

Standard

A toolbox isn’t very useful without a floor. Having never put a floor in a box before, I consulted my book, and came away with the following sage wisdom:

You should make all your bottom boards interlock in some way – butt joints are a Bozo No-No. You can use a simple ship-lap joint[…] Or you can do things the proper way and use a tongue-and-groove joint on your bottom boards.

— Christopher Schwarz, The Anarchist’s Tool Chest

I decided to try ship-lap boards because I don’t have a tongue-and-groove plane. I don’t have a rabbet plane either, but I saw people on the YouTubes who said you could make rabbets with just a chisel and a router plane. This technique appealed to me because I’m left-handed, and both tongue-and-groove planes and rabbet planes seemed to be made for right-handed people. Router planes are ambidextrous.

RouterPlane

RouterRabbet

I found one on Ebay that looked especially pretty, so I bought it. As far as I can tell, this is a type 7, meaning that it’s somewhere between 107 and 109 years old. After a bit of trial and error, and a number of goofed up boards, I made some passable rabbets by this laborious method.

I decided that this was not a fun use of my time, so I bought a rabbet plane.

RabbetPlane

I had to get used to doing things right-handed, but I managed. I still had a hard time keeping everything square, but I produced some ship-lapped floor boards for my box. A rabbet plane is much faster than banging things out with a chisel.

Shiplap

I got everything fitted and spaced out the way I wanted, and then I got to use my fancy new cordless drill to pre-drill some nail holes.

drill

Now that my tool box has a floor, it seems likely that I’m going to have to start over and make a bigger one. I’m accumulating tools faster than I can build a home for them.

Base Trim Travails

Standard

The plan for my dovetailed box calls for a base trim. So, I set out into the garage to see if I could build a baseboard.

ripping

The first order of business was to rip my boards into narrower widths. The mighty “Keystone Defender” rip saw does a nice job, despite my inability to saw a straight line.

planing

My general incompetence as a sawyer necessitated a great deal of cleaning up with the jack plane. But I finally had some boards in the proper width.

IMG_20150301_113757

IMG_20150301_114150

chiseling

Then, I laid out, sawed, and chiseled out the tails and pins for two of the corners of the box.

falsehope

I put one corner together, and planed it smooth, and was generally feeling very satisfied with my work, but I had a great deal of trouble getting the second corner to come together. Then it dawned on me that I had some things backwards.

stupid

Somehow, I managed to get things turned around, and made a ziz-zag kind of thing instead of a box-shaped rectangular thing. Because this trim has to fit the box exactly, There was no real remedy for this situation. I had to start the whole thing over.

So, I started over. I ripped, and planed, and laid out, and sawed, and chiseled, and fit, and smoothed all over again. But, this time I marked my wood with a “cabinet maker’s triangle” to keep things lined up correctly.

basetrimdone

After a great deal of monkeying around, my box now has some base trim.

Update From the Garage

Gallery

My wooden box project is coming along. I glued up the dovetails and planed them down. They actually look kind of not bad. Then, I got to use my rip saw to rip out some trim boards. My saw wandered all over the place, so I got to spend some quality time with my jack plane cleaning up the sawed edges of my boards.

Planing is a good workout. It was below freezing in the garage, and I was working up a sweat by the time the boards were nice and straight.

Dovetailed Box

Image

My continued efforts in post-apocalyptic joinery have resulted in this:

image

It’s a box! It is very nearly rectangular and everything.

Next, I will but a bottom on it; maybe even a top. Then, I can put things inside it and feel like a manly handy-man sort of fellow.

Dovetails

Gallery

In preparation for the imminent collapse of industrialized civilization, I have gathered together a small collection of hand tools. When the last head is struck from the last zombie with the last machete, the world will be rebuilt by hand.

In the aftermath of the great Zombie War, you may have a hard time finding a place to plug in your Sawzall.

Having the tools is one thing, knowing what to do with them is another. So today, after doing some research in books and on the YouTubes, I have cut my very first dovetail joint using only hand tools.

From what I gather, this is a pretty good result for a first attempt, and so I am rather pleased with my joint. I will keep you all posted as my interest in post-apocalyptic joinery continues.